Initial Document Layout with Screenshots -- Details
While the Dr.Explain Help File does a much better job at documenting Dr.Explain, I thought I would add some callouts here for your orientation and to show how easy it is. This also provides me the opportunity to orient you a bit with Dr.Explain basics.
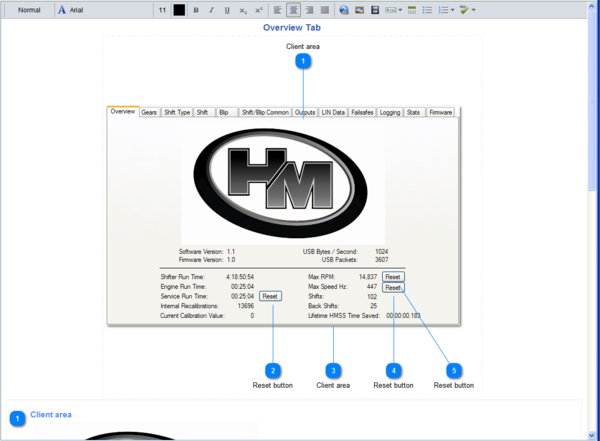
So that you could more easily see what I was talking about, I made the callouts in this document look different than those used in the Help-File project being discussed. Specifically, they have numbers that are contained in larger green ovals (as opposed to smaller blue rectangles with rounded corners) and have thicker lines and larger text.
See Complete Control of Callout Styles for more information. Simply put: Dr.Explain gives you in-depth control of the appearance of your callouts.
Note that both the top image (the screenshot proper) and the sub-images each callout is attached to, can be resized or have borders and margins managed by right clicking it and selecting "Image properties..." from the resulting popup menu. Note that all such resizing happens without ever affecting the original image in the project. Thus, the original image and/or its size can be restored at any time, no matter how the appearance of the images have been modified in the page. This is true for all images in a Dr.Explain project.
(If you haven't already done so, see the Definitions page for detailed definitions of the terms used above.)
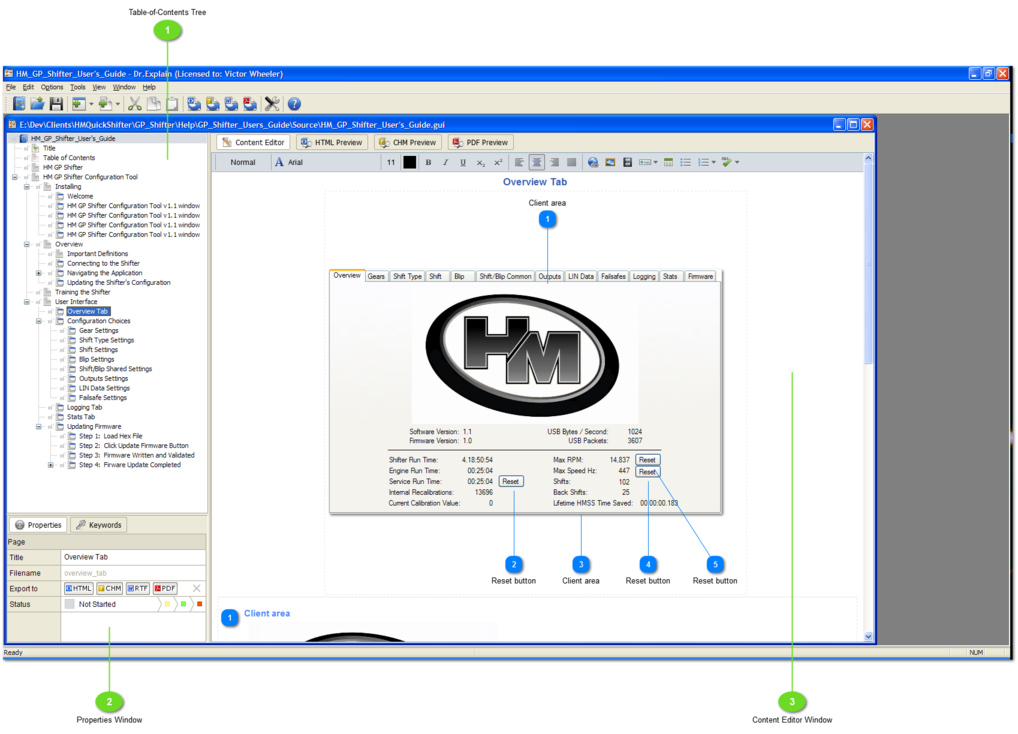
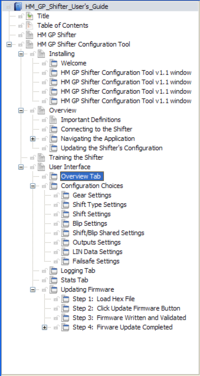
Table-of-Contents Tree
This area gives you easy and flexible control over the organization of your document. The table of contents in your output (whatever form it takes) is generated from this tree structure. This is the core of your document organization, and is the primary control you will use to navigate through your documentation project. The node that is selected here:
1. has its content displayed in the Content Editor window on the right, and
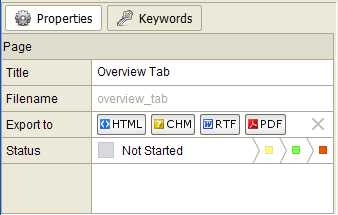
2. has its properties displayed in the Properties Window below.
When a node is selected in the Table-of-Contents Tree, its properties are displayed here under the heading "Page". The term "Page" refers to the fact that the node in the tree represents an HTML page (a.k.a. "topic" in HTML Help terms) in your HTML (on-line) or CHM (compiled help) final output.
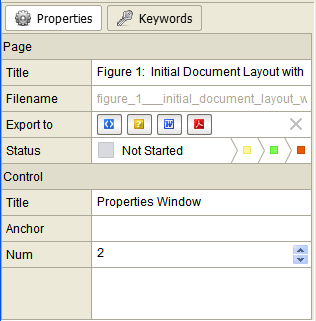
When a specific callout has focus in the Content Editor Window, the Properties Window also displays the properties for that callout, under the heading "Control". The term "Control" refers to the fact that normally a callout in the Content Editor Window is attached to a "control" in the screenshot (such as a button, text box, drop-down, etc.).
This is where you manage callouts and their detailed descriptions, as well as the main screenshot image and sub-images resulting from the callouts. Double clicking the top image (the screenshot proper) causes the Content Editor Window to switch to Image Editing Mode, wherein you have full control over all aspects of each callout and the area it is attached to, as well as the ability to add and/or delete callouts at will.