Step 6 -- Generating Final Output
It is here that I output the source I created in steps 1-5 above into the final documents. Before I did this, however, I switched over to the CHM Preview mode (as I have done already many times) and reviewed the whole document for things I'd like to adjust. It is in this step that I took care of final cosmetic elements such as company logo in the header of each page, and copyright notice in the footer.
One thing I really like is that Dr.Explain Project Settings are LOADED with nooks and crannies where you can customize your help file's style for a small part, or for your entire help file if you want to.
One of the most useful features of this (unfortunately, there is not much documentation on this in Dr.Explain's own Help file yet) is the ability to tell it, for example, when generating the CHM output, to NOT delete the intermediate files generated while the actual CHM file is being assembled. You can tell it to place the temporary files in a folder you specify. What this enables you to do is to go into the intermediate .HTM files and discover that the help file layout is both elaborate and systematic: that each style that is used and re-used within the help file is given a name, so that you can target it with supplemental CSS (cascading style sheets) style modifications of your own!
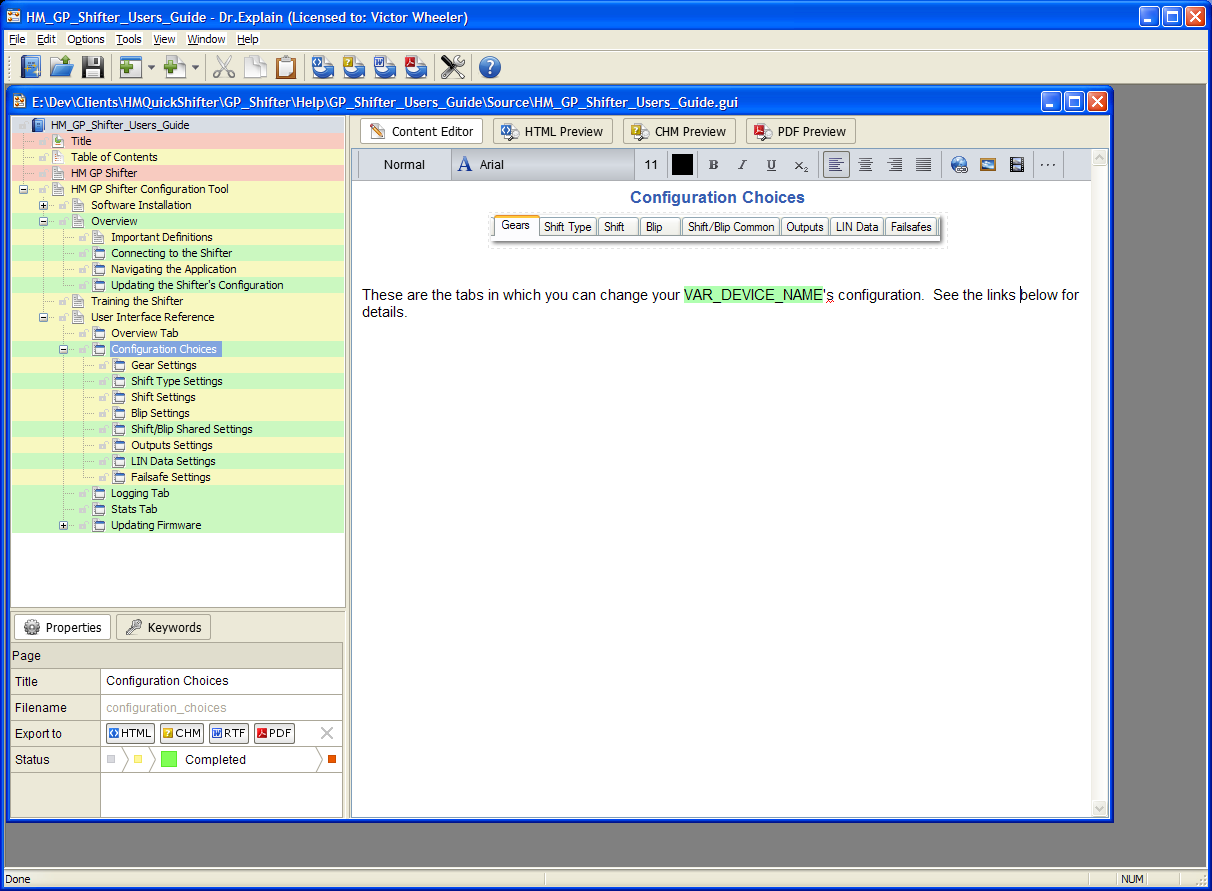
Example: though you can turn this feature off if you want to in Project Settings, by default an "orientation" topic that has "details" topics below it automatically provides links at the bottom of the page to the subtopics. This is already formatted in a very nice way, consistent with the chosen layout theme for the help file (which is also configurable). By default, this source:
Page Source
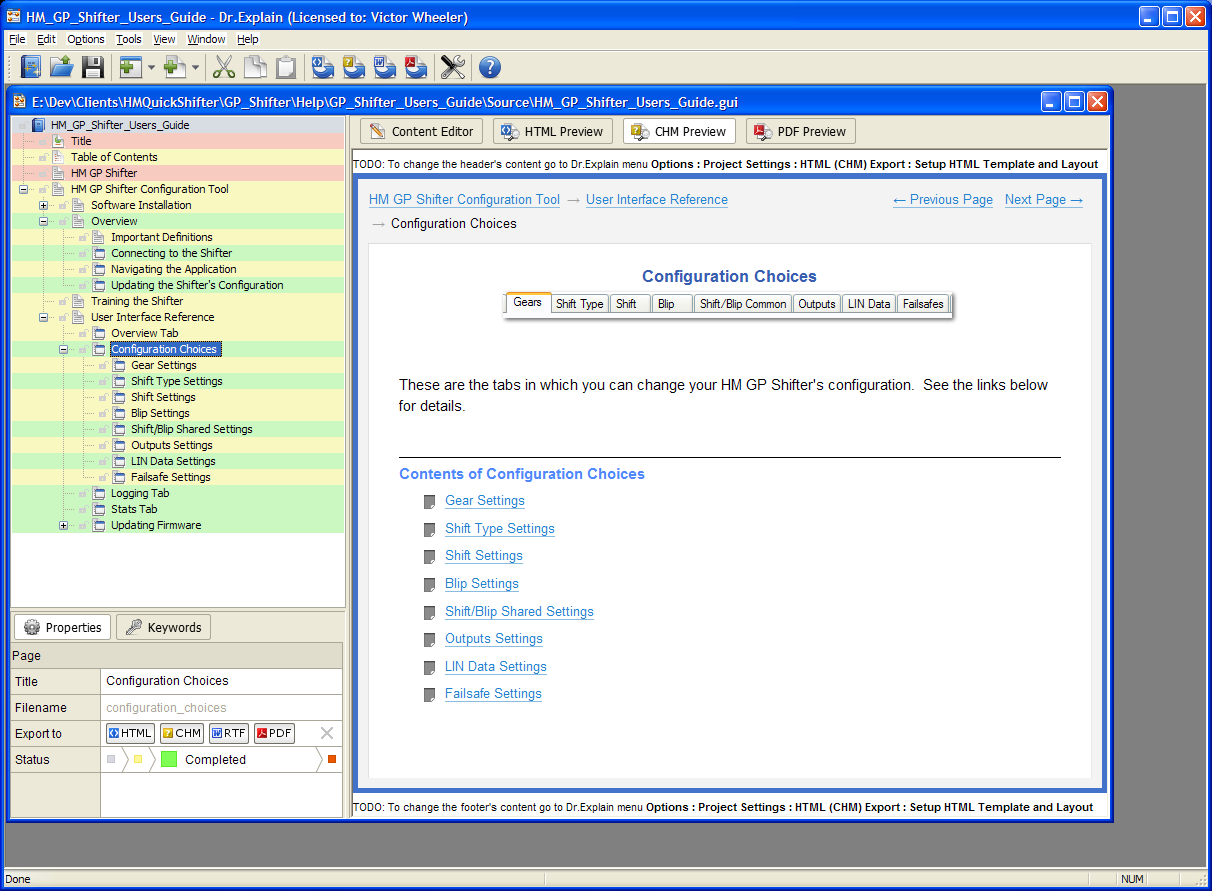
produces this output:
Menu to Subpages Is Automatic
However, let's say you would like to (as I did) modify the style of the
"The contents of <page_title>"
line to be a little different. To walk you through what I did, I went to Project Settings > Text strings > Headers > "The contents of:" <TOPIC> and changed the string to: "Contents of" because I like that better.
Additionally, I would like to have a separator line above this "title" so that the reader can clearly see at a glance that the group of links below is sort of a "different section" of the page. How I did this:
1. Project settings > CHM export > File settings
I changed my work folder to be a sibling folder to the project folder called "Generated_Files\CHM\". And then I checked:
[x] Keep temporary files after export.
2. I did a test-run of outputting the CHM file.
3. I opened the aptly-named CONFIGURATION_CHOICES.HTM file in my editor (for this, I suggest NOTEPAD or a fancier text editor if you have one, but NOT a WYSIWYG HTML editor, because you want to see the HTML code) to discover the nature of how that part of the document is displayed. To find that section in the HTML code, I searched for "Contents of Configuration Choices" and to my pleasure I found:
a. that the HTML is easy to read, and
b. that indeed that portion of the document has its own unique style name (for CSS targeting): that whole section of links at the bottom of the page is encased in a <div>...</div> tag that has a named style, specifically
<div class="menu_on_page">
A quick search through all the generated HTML files with my editor (fancier text editors let you search many files at a time for a text string) confirmed that this style name "menu_on_page" is indeed only used for this set of links at the bottom of such a page.
4. I went to
Project settings > CHM export > Visual appearance
and clicked the edit button (pencil and paper button) to the right of the "Additional CSS" options and entered the following simple CSS to give this section a separator line:
/* Child Topics Container */
div.menu_on_page
{
border-top: 1px;
border-bottom: 0px;
border-left: 0px;
border-right: 0px;
border-style: solid;
border-color: #000000;
margin-left: 0px; /* Span entire width of CHM display area. */
margin-right: 0px; /* Span entire width of CHM display area. */
margin-bottom: 20px;
margin-top: 20px;
padding-top: 0px;
padding-bottom: 20px;
padding-right: 0px;
padding-left: 0px;
}
and click OK, OK to save it.
And then went to CHM Preview, and voila!
Division Line Over "Menu On Page" Heading
Not only is it on this page, but on every page where the style name "menu_on_page" is used, which is exactly what I wanted!
I have to give credit for most of this to the Dr.Explain team, however, because to learn how to do this, I studied the example help source file that is installed with Dr.Explain, and studied its intermediate files to see how easy this could be done. Most of the CSS code above was copy/pasted from that example. I modified it by adding a few comments and changing the left and right margins to suit my needs.
If you are accustomed to working with HTML and CSS, then a study of the HTML that Dr.Explain generates will show you that it gives you a great deal of power in customizing the style if your help files. For myself, I found that I was already very happy with the default style that ships with Dr.Explain. The few modifications I did make were:
1. I modified the colors slightly to be color-cordinated with the color of the product my document is for. Dr.Explain already provided a nice option for this, which I used:
Project settings > CHM export > Visual appearance > Use visual theme > Ultra Black
2. The separator line over the links to child topics, as illustrated above.